A “Cool” Dinnertime Hack: Frozen Meat Solution! Do M.O.R.E. with Dinner
Aug 1, 2017
If you’ve been following my Do M.O.R.E. with Dinner initiative, you’ve heard about ways to get more out of dinnertime through food, fun and family. And you probably know that I find summertime much easier because my husband can grill out and I can pull together a salad or veggie and simple side dish. But as summer comes to an end and we think about getting back into the school schedule, I’m dreading one of my biggest dinnertime challenges: frozen meat.

One of the biggest barriers I have in getting a healthy, balanced meal on the dinner table is forgetting to defrost meat in advance. Let’s face it, life gets in the way of even simple things like remembering to put frozen meat in the refrigerator the day before to thaw. And if you think you can just put the frozen meat in a sink of water or the microwave to thaw, think again. The sink method is risky because all or part of the meat can end up being in the danger zone (40-140 degrees) too long which could mean you or someone you love could get foodborne illness. Simply setting the microwave on defrost isn’t that effective, either. If you’ve tried it, you know. Part of your meat is still frozen and part of it is now cooked.

But even if you were Superwoman that one particular day (or moment) and remembered to put the frozen meat in the refrigerator the day before to thaw….you know what happens next. Life happens and plans change! Then there you are, putting the thawed meat back into the freezer and repeating the entire cycle (which ends in decreased meat quality and potentially some food safety issues). Stop the insanity!
As a member of the Beef Expert Bureau, I was ecstatic to learn about a very “cool” trick to thaw frozen ground beef quickly, easily and safely! So I’m sharing it with you so that you can enjoy the same excitement and less-stressed dinner planning and prep.
But before we dive into this really cool hack, I have to ask you: Are you freezing your meat correctly to begin with? I recently did the 30-Day Food Waste Challenge and learned that I was NOT doing this properly. How did I not know this? Well, here’s what you need to know:
- You should NOT just pop the packaged meat into your freezer – the plastic wrap from the grocery store is permeable and this allows too much air to contact the meat causing freezer burn and decreased quality.
- You also should NOT put it in a plastic container – again too much air contact.
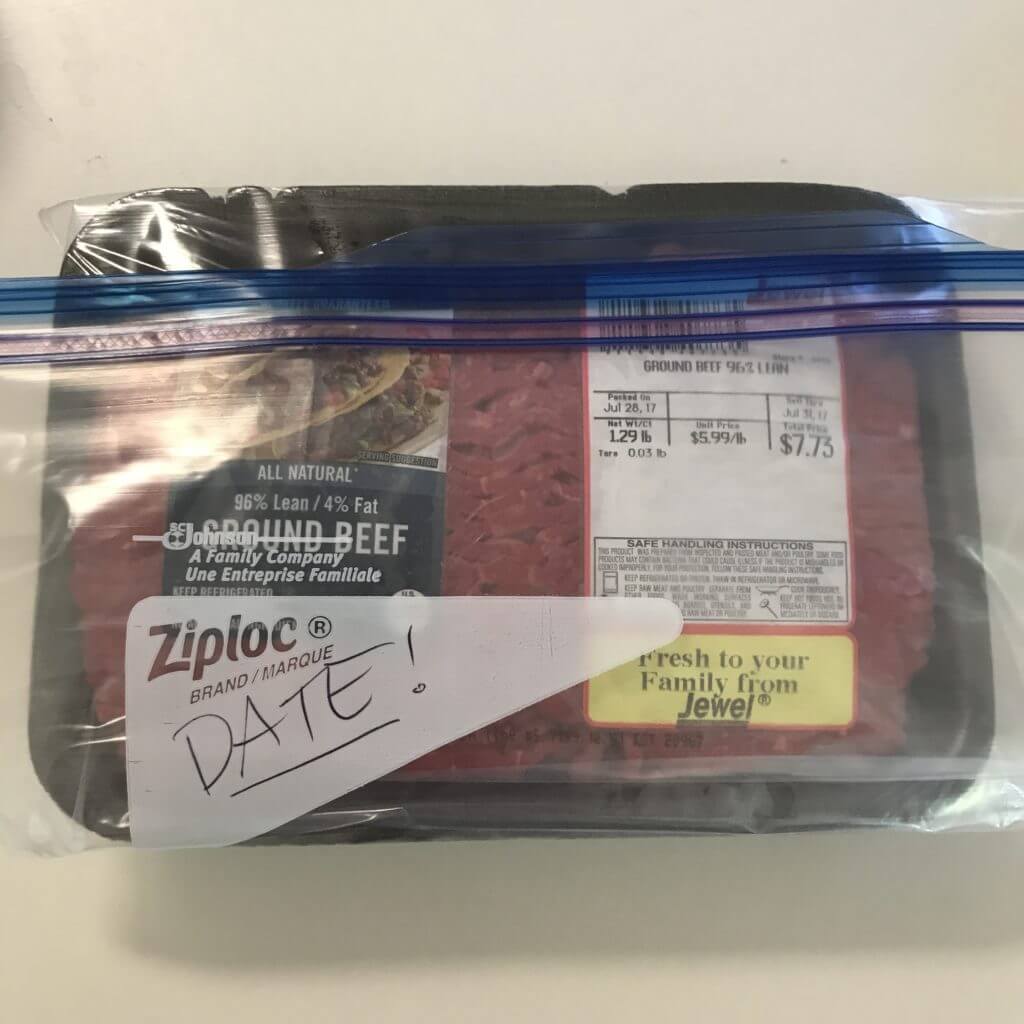
- The BEST thing you can do is place the package in a resealable freezer bag and make sure to get as much air out of the bag as possible. And don’t forget to put a date on it!
Okay, now you’re ready to follow these simple steps to thawing ground beef in less than 5 minutes!
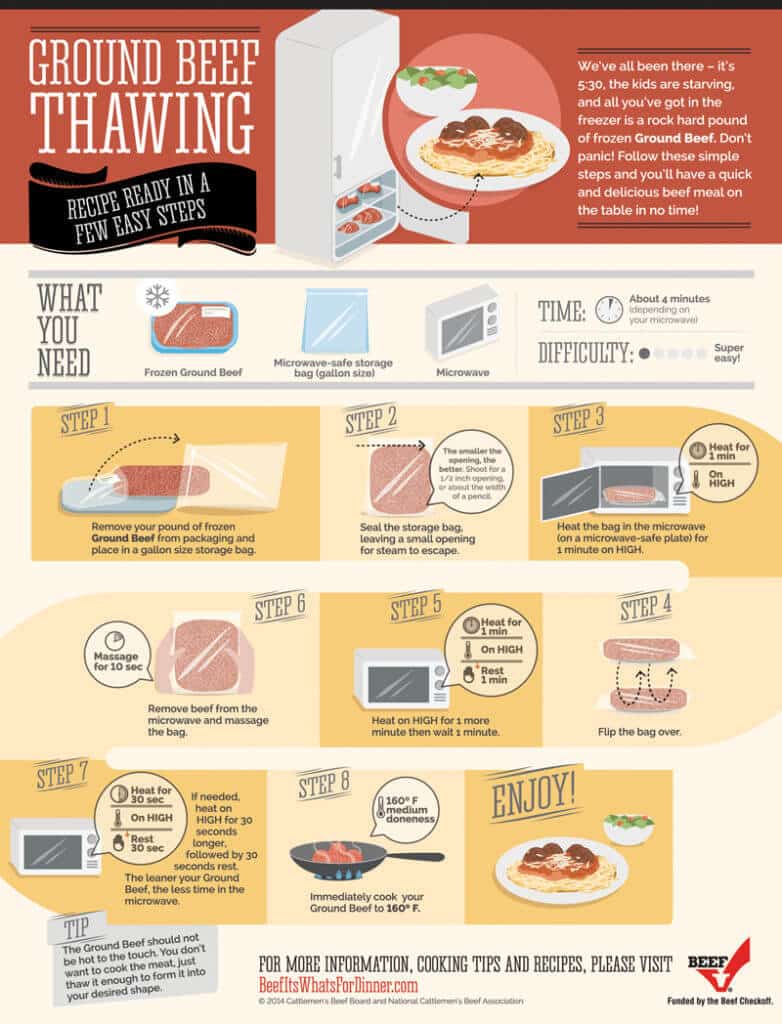
Who knew dinnertime could be this much easier?! Well, now you know. I’d love to see you post YOUR pics on social media using #domorewithdinner (but make sure you’re avoiding screen time DURING dinner!)
If protein is of interest to you, you should check out the 30-Day Protein Challenge. Let me know if you do – I’ve done it twice and learned so much!
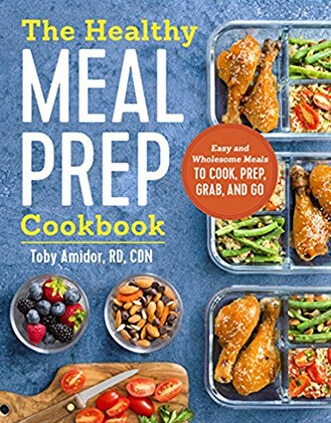

“As a single, working mom of three, I want to make sure my kids have healthy, delicious food for every meal.”
-Toby Amidor, Dietitian and Recipe Developer
It’s easy to reach for frozen and microwaveable meals when you’re short on time, but being too busy shouldn’t mean that you can’t have balanced and delicious meals. Learning how to meal prep properly will not only save you time and energy, but it will also help to make sure that you and your family eat homemade and nutritious meals. Providing practical and simple solutions with easy to follow instructions, The Healthy Meal Prep Cookbook shows you how simple it is to enjoy fresh and flavorful meals on even the most hectic days.
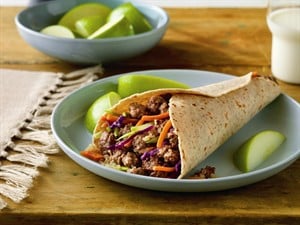
Tex-Mex Burgers
Ingredients
- 1- pound lean ground beef 90% or leaner
- ¼ red onion finely chopped
- ¼ green bell pepper finely chopped
- ¼ cup chopped cilantro
- 2 garlic cloves minced
- 1 teaspoon ground cumin
- 1 teaspoon smoked paprika
- ¼ teaspoon salt
- 1/8 teaspoon freshly ground black pepper
- 1/8 teaspoon allspice
- Cooking spray
- ½ cup Avocado Lime Mayonnaise see recipe below
Instructions
- In a medium bowl, combine the ground beef, onion, bell pepper, cilantro, garlic, cumin, paprika, salt, black pepper, and allspice. Using clean hands, form the mixture into 4 patties.
- Coat a grill pan or sauté pan with the cooking spray and place it over medium heat. When the oil is shimmering, add the burgers and cook until a thermometer inserted into the center of a burger reads 155.F, about 5 minutes per side.
- Top each burger with 2 tablespoons of the Avocado Lime Mayonnaise before eating.
Notes
Avocado Lime Mayonnaise
Ingredients
- 1 ripe avocado
- 2 tablespoons extra-virgin olive oil
- Juice of 1 lime about 2 tablespoons
- Zest of 1 lime
- ¼ teaspoon salt
- 2 tablespoons water optional
Instructions
- In a food processor or blender, add the avocado, olive oil, lime juice and zest, and salt. Blend until smooth, adding the water, if needed, to make a creamy texture.
Notes
Related
WELCOME TO MY BLOG
Thank you for stopping by!
I’m the Guilt-Free RD – “Because food shouldn’t make you feel bad!™”. So, on my Food for Thought blog I’m sharing the secret ingredients to enjoy your food with health in mind.

Subscribe!
Sign up for my monthly newsletter and episode eblasts so you never miss an update!
LISTEN TO MY PODCAST

Listen to the trailer
Melissa’s Demo Reel